![[LinuxFocus Image]](border-short.jpg)
| News Archives Companies Tips |
Graphical Photocomposition with Photoshopby Juan Manuel Sepúlveda |
Introduction
Fixing Scanned Images
Cutting and Cutting
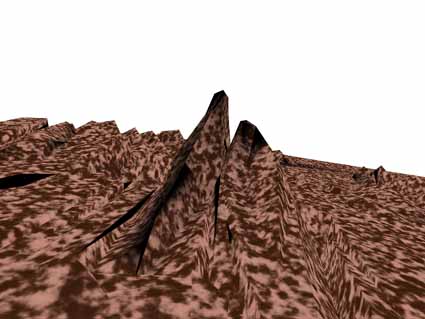
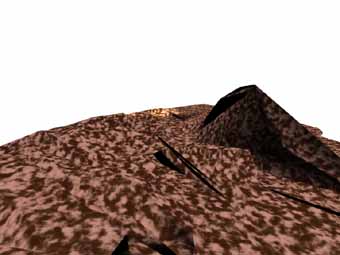
Scenes in 3D
Digital Images
Final Lighting Effects
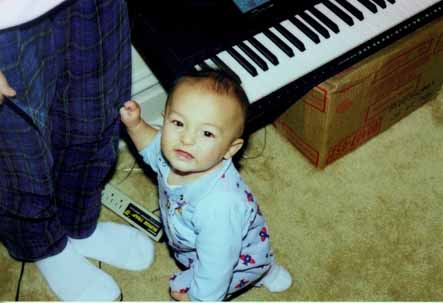
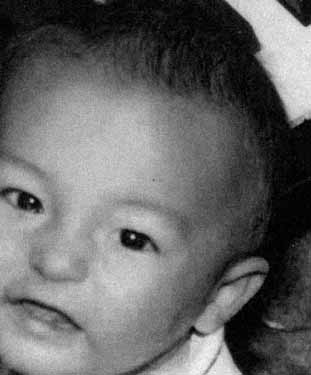
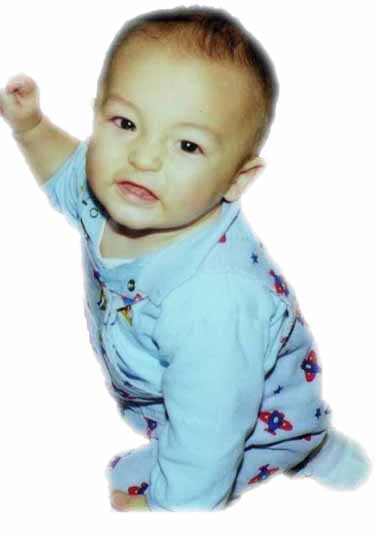
IntroductionThe enormous growth of webpages in cyberspace has generated a huge demand for graphic artists. We also live in the mids of a 3D graphics revolution, every day we hear about new exciting and cheaper hardware for the desktop user. I work as a Graphic Artist in Spain, my latest works involve mixing scanned images, treated with various special effects and filters to improve their quality, with backgrounds made using several commercial applications for 3D graphics. A couple of years ago I was very happy and excited to see the wonderful development of "The Gimp" (A Graphical Image Manipulation Program). However in my profesional work I mostly use photoshop, illustrator, Extreme3D, 3D Studio, etc... a very long list of commercial software common in the graphical design & publishing business. Weeks ago Phil and I decided it would be very fun to test the current status of freeware tools like Gimp and compare it to popular publishing tools. Our idea is to have a "testing lab", every issue of LinuxFocus we will describe a common graphic technique, show how it is done with commerical software, say photoshop, and them see how it would be done with "The Gimp". This first article explains a technique for creating an artificial image based on a digitally scanned photo. As an example, I made a little joke using my nephew. By the way, I am the brother of LF editor M. A. Sepulveda. First I will show you the final result; it was done by first scanning a photo, repairing the color channels with Photoshop and then cutting it with a quick mask. 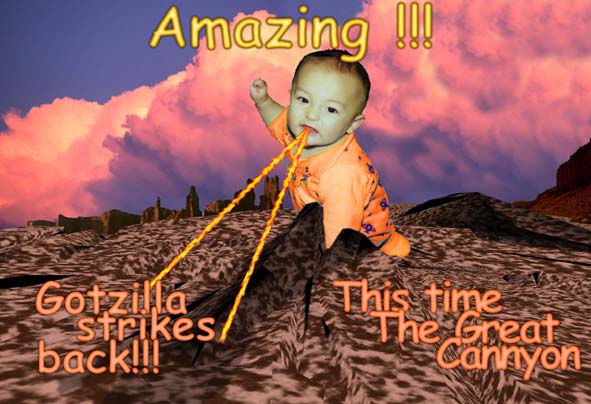 Gotzilla Strikes Back! Fixing Scanned ImagesOften scanners make mistakes capturing the blue channel. Almost all publishing software available offers the tools to view the images by channels. Otherwise, you can check the fidelity of your digital picture by executing an RGB separation. Viewing the blue channel you will immediately see numerous errors in the scanned image. More often than not these errors happen because the quality of our scanner is not as good as we expected or because of hardware limitations and bugs in our digital cameras.
It is difficult to appreciate the ammount of noise in the right image if you see it throgh a web browser; most browsers only support very small color depth and resolution. Nevertheless you probably can still appreciate excesive deterioration of the image, it looks very noise. I would like to explain step by step how to repair this image because it is very interesting and fun, however it is best to direct you to one of the masters, Adobe's Creative Director Russell Brown. In the page of tips of Adobe, there is ample number of tips and techniques for repairing digital images; it would be folish of me to repeat those notes here. Cutting and Cutting....
Let us see how we select the silhouette of Daniel: In quick mask editing mode select a pencil an carefully draw a line around the silhouette, make sure the line is continuous otherwise everything will break apart later, then select from the tool box the painting can and completely fill the interior of the silhouette, finally click on the "Edit in Standard Mode" from your tool box. That's all folks!. Everything but the masked region is selected. Next go to Select > Inverse to select our little friend. We are know free to copy and paste our selection somewhere else. When the cut of the selected object is not exactly what we wanted, it is still possible to smooth out our selection. Just invert the selection (Select > Invert) to grab the background of the object. Next expand the selection size for a few pixels; How many pixels? It depends on the size of the image, practice a little until you get a feeling for it. From the Select menu we then choose a feather size of a few pixels (again is dependent on the total size of the image), usually 1 or 2 pixels is enough. Now that the selection has been adjusted we can delete the background pushing the "Delete" key. The resulting silhouette has now a smooth shape and a soft white aura around it. The method of selection by "Quick Mask" editing mode is the most precise and correct, althout it involves more work. On the other hand not every situation requires the use of this technique for selecting an object, for example if the colors of the object and the background are very different it is enough to use the magic wand or a method based on selection by color, which are faster and will save you effort. Scenes in 3D
Digital ImagesYou can always add extra digital images to your composition. There are many galleries of images sold on CDs and even tons of images all through the web (off course you must respect the appropriate copyrights). Inserting digital images from galleries into our works can give more strength to the final composition, just make sure that the color and luminosity are ajusted in the final work. Final Lighting EffectsOnce all our images are cut and re-scaled for the composition, we have to adjust the scale of colors and ilumination. Perhaps this is the most complicated part of every composition. The tools available for it are quite simple: levels, color balance, brightness/contrast, Hue/Saturation, equalize, variations among others. Take a little tour of them and try them to get a feeling for their effect on colors and tones. Here are some compositions with simple lighting effects: 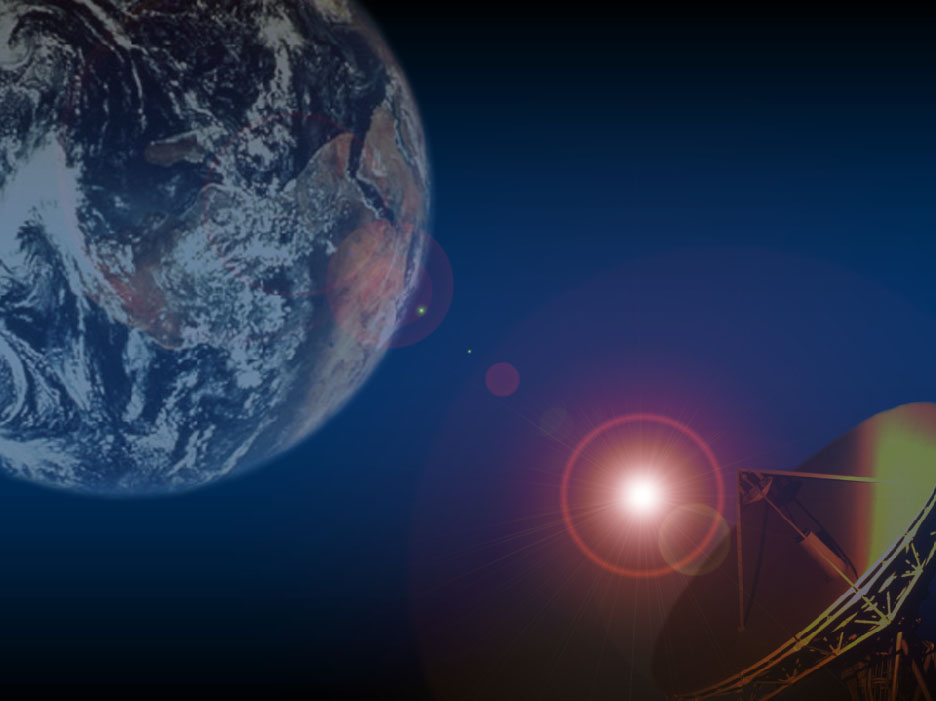

|
Translated by Miguel Angel Sepúlveda
- Consult Adobe Tips Page.
- Read Phil Ross' article on "The Gimp".
This website is mantained by Miguel A Sepulveda.